K.A.O.S. Build Log

The K.A.O.S., or Ken Alba Oculus Stand, was a commission by a friend, for a friend. Designed for the Oculus Quest 2, it’s made of mahogany with some maple accents, and finished with teak oil and spray shellac.


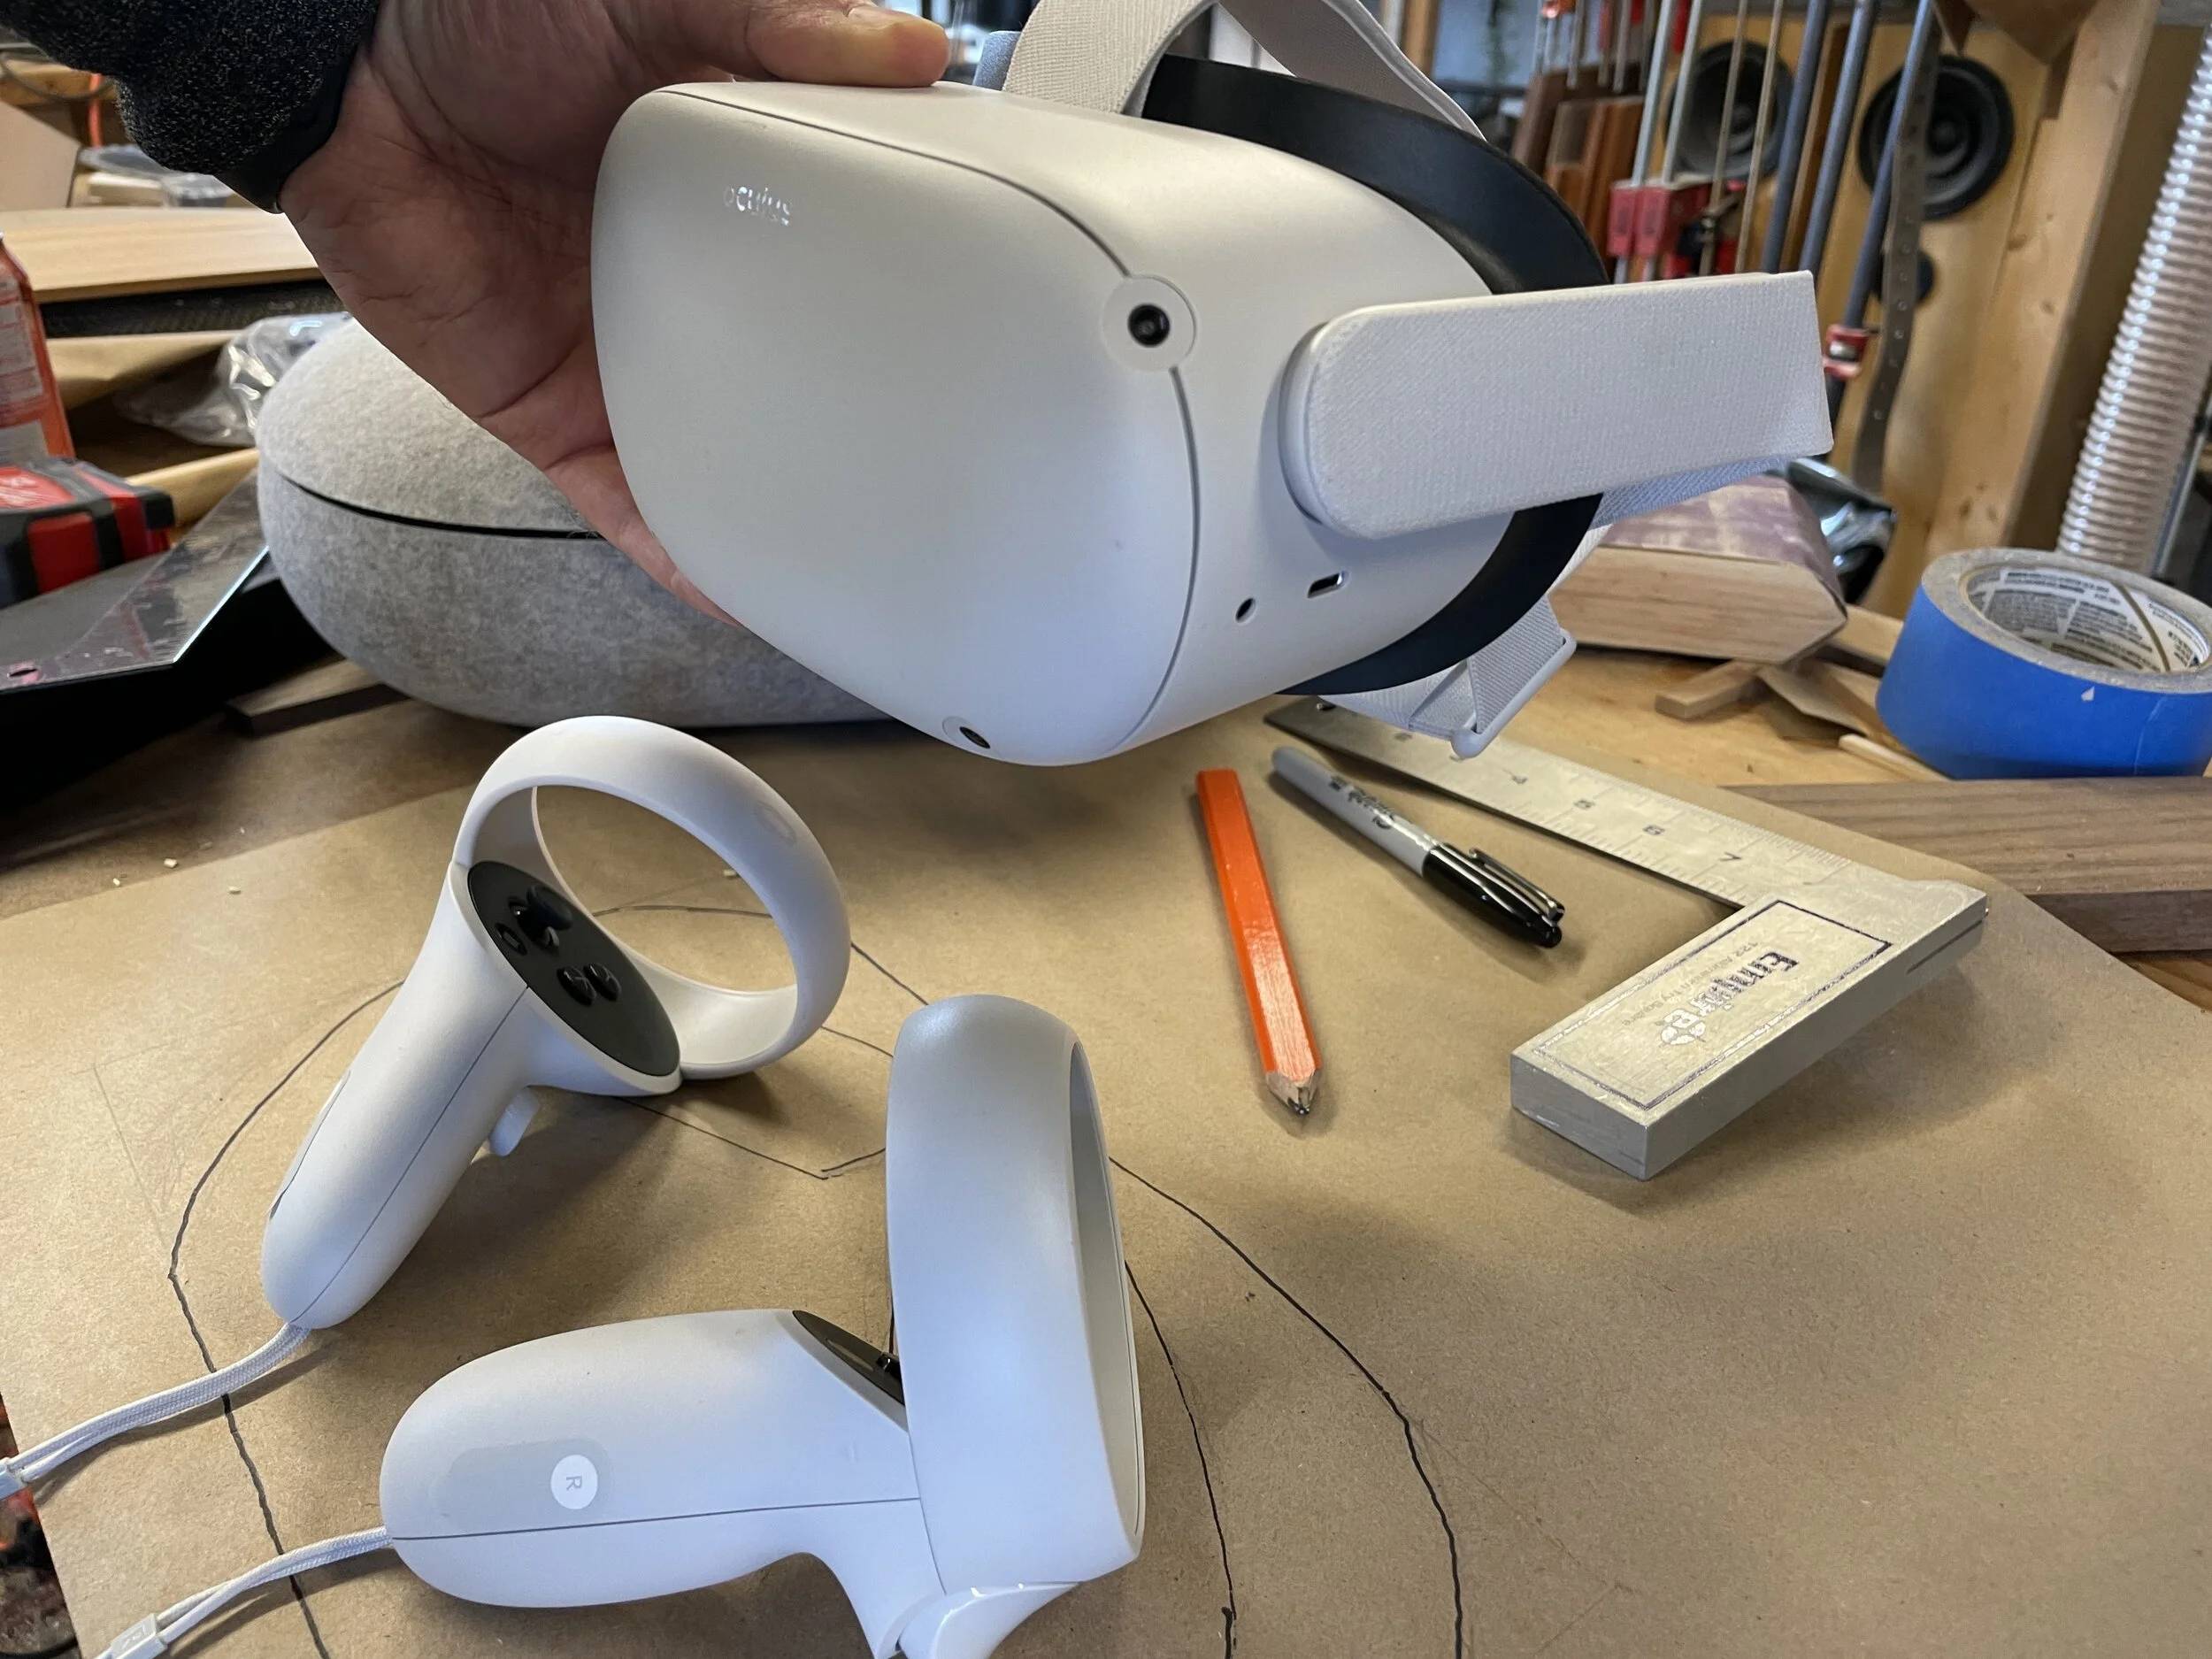
I wanted to get the basic layout onto paper (which I’d later turn into templates). I also wanted to get a good sense of where the headset should go in relation to the base. This was basically all the planning I put on paper, but there was more in my head.


The first thing to make were the controller cups. The dimensions were basically a best guess, but the shape is reminiscent of the Oculus oval logo. I routered out the cup from a larger chunk of wood so that the router base would have something to sit on, before cutting out the individual cups on the bandsaw. The clamped boards are there to prevent the piece I was working on from sliding around. The cups are slightly too tall, but with a 1/4” board under the base of the handle, the angle is much better. This was the main reason for the maple pads, but them acting as an accent and target for placement seemed like an additional benefit. I always could have just made the cups shorter I suppose, but I liked the way this turned out better.


The base would need to be wider than the mahogany I had, so I glued two pieces together, matching the grain as best as I could. You really can’t tell in the final product unless you’re looking for it.


Next I cut the groove the riser would sit in. I wanted a groove for two reasons: first, it would add a touch of stability, but more importantly, i could make the front edge, where the riser meets the base, a little smoother. If the rise sat on top of the base, it wouldn’t be as clean of a transition. I used a router jig I had to cut this channel as best I could. In retrospect, it probably would have been easier to just clamp a guide board to the piece, but this worked. You can see the shape of the riser, drawn in pencil. I freehanded the shape based on what I thought would have that swooping vaguely 1950’s googie shape.


Here’s the shaping of the riser. I cut the top and the bottom on the miter saw so they’d be square with each other, and then cut the shape on the band saw. Then, I rounded over the leading edge on the router, and left the back flat (I like that look better, it suggests forward motion).


Here’s some test fits and layouts with the controller cups and pads.


I made a template where I drew the curve free hand on one side, then folded it in half and cut it out so that it would be perfectly symmetrical. I also cut out the top shelf, which I wanted to have a kind of airplane tail wing feel to it. Then a few more test fit ups. I routered the edge of the base before gluing on the riser with a nice roundover, and sanded everything, because once all the bits and bobs were in place, it would be a pain to sand in all the nooks.


Next, I glued the riser in place, and glued the nebbits for the nose piece of the headset onto the top shelf. I clamped the riser to a square to make sure it was vertical, something I forgot to do when making the amp stand. The painter tape for the nose piece is my layout guide.


Cannibalizing the same template from before, I lined up there I wanted the cups and pads to be, and traced and cut out holes on the stencil, which I used to trace onto the painter’s tape. Then I transferred the stencil to the other side, and cut out the shapes from the painter’s tape on both sides to use as a layout guide for gluing.


Clamps.


Dry fit for the shelf, and then I clamped it in place. I finished it with teak oil to bring out the color, and a few coats of shellac to give it some shine, and that was that! Glamour shots:


