Remote School Desk Build Log(s)


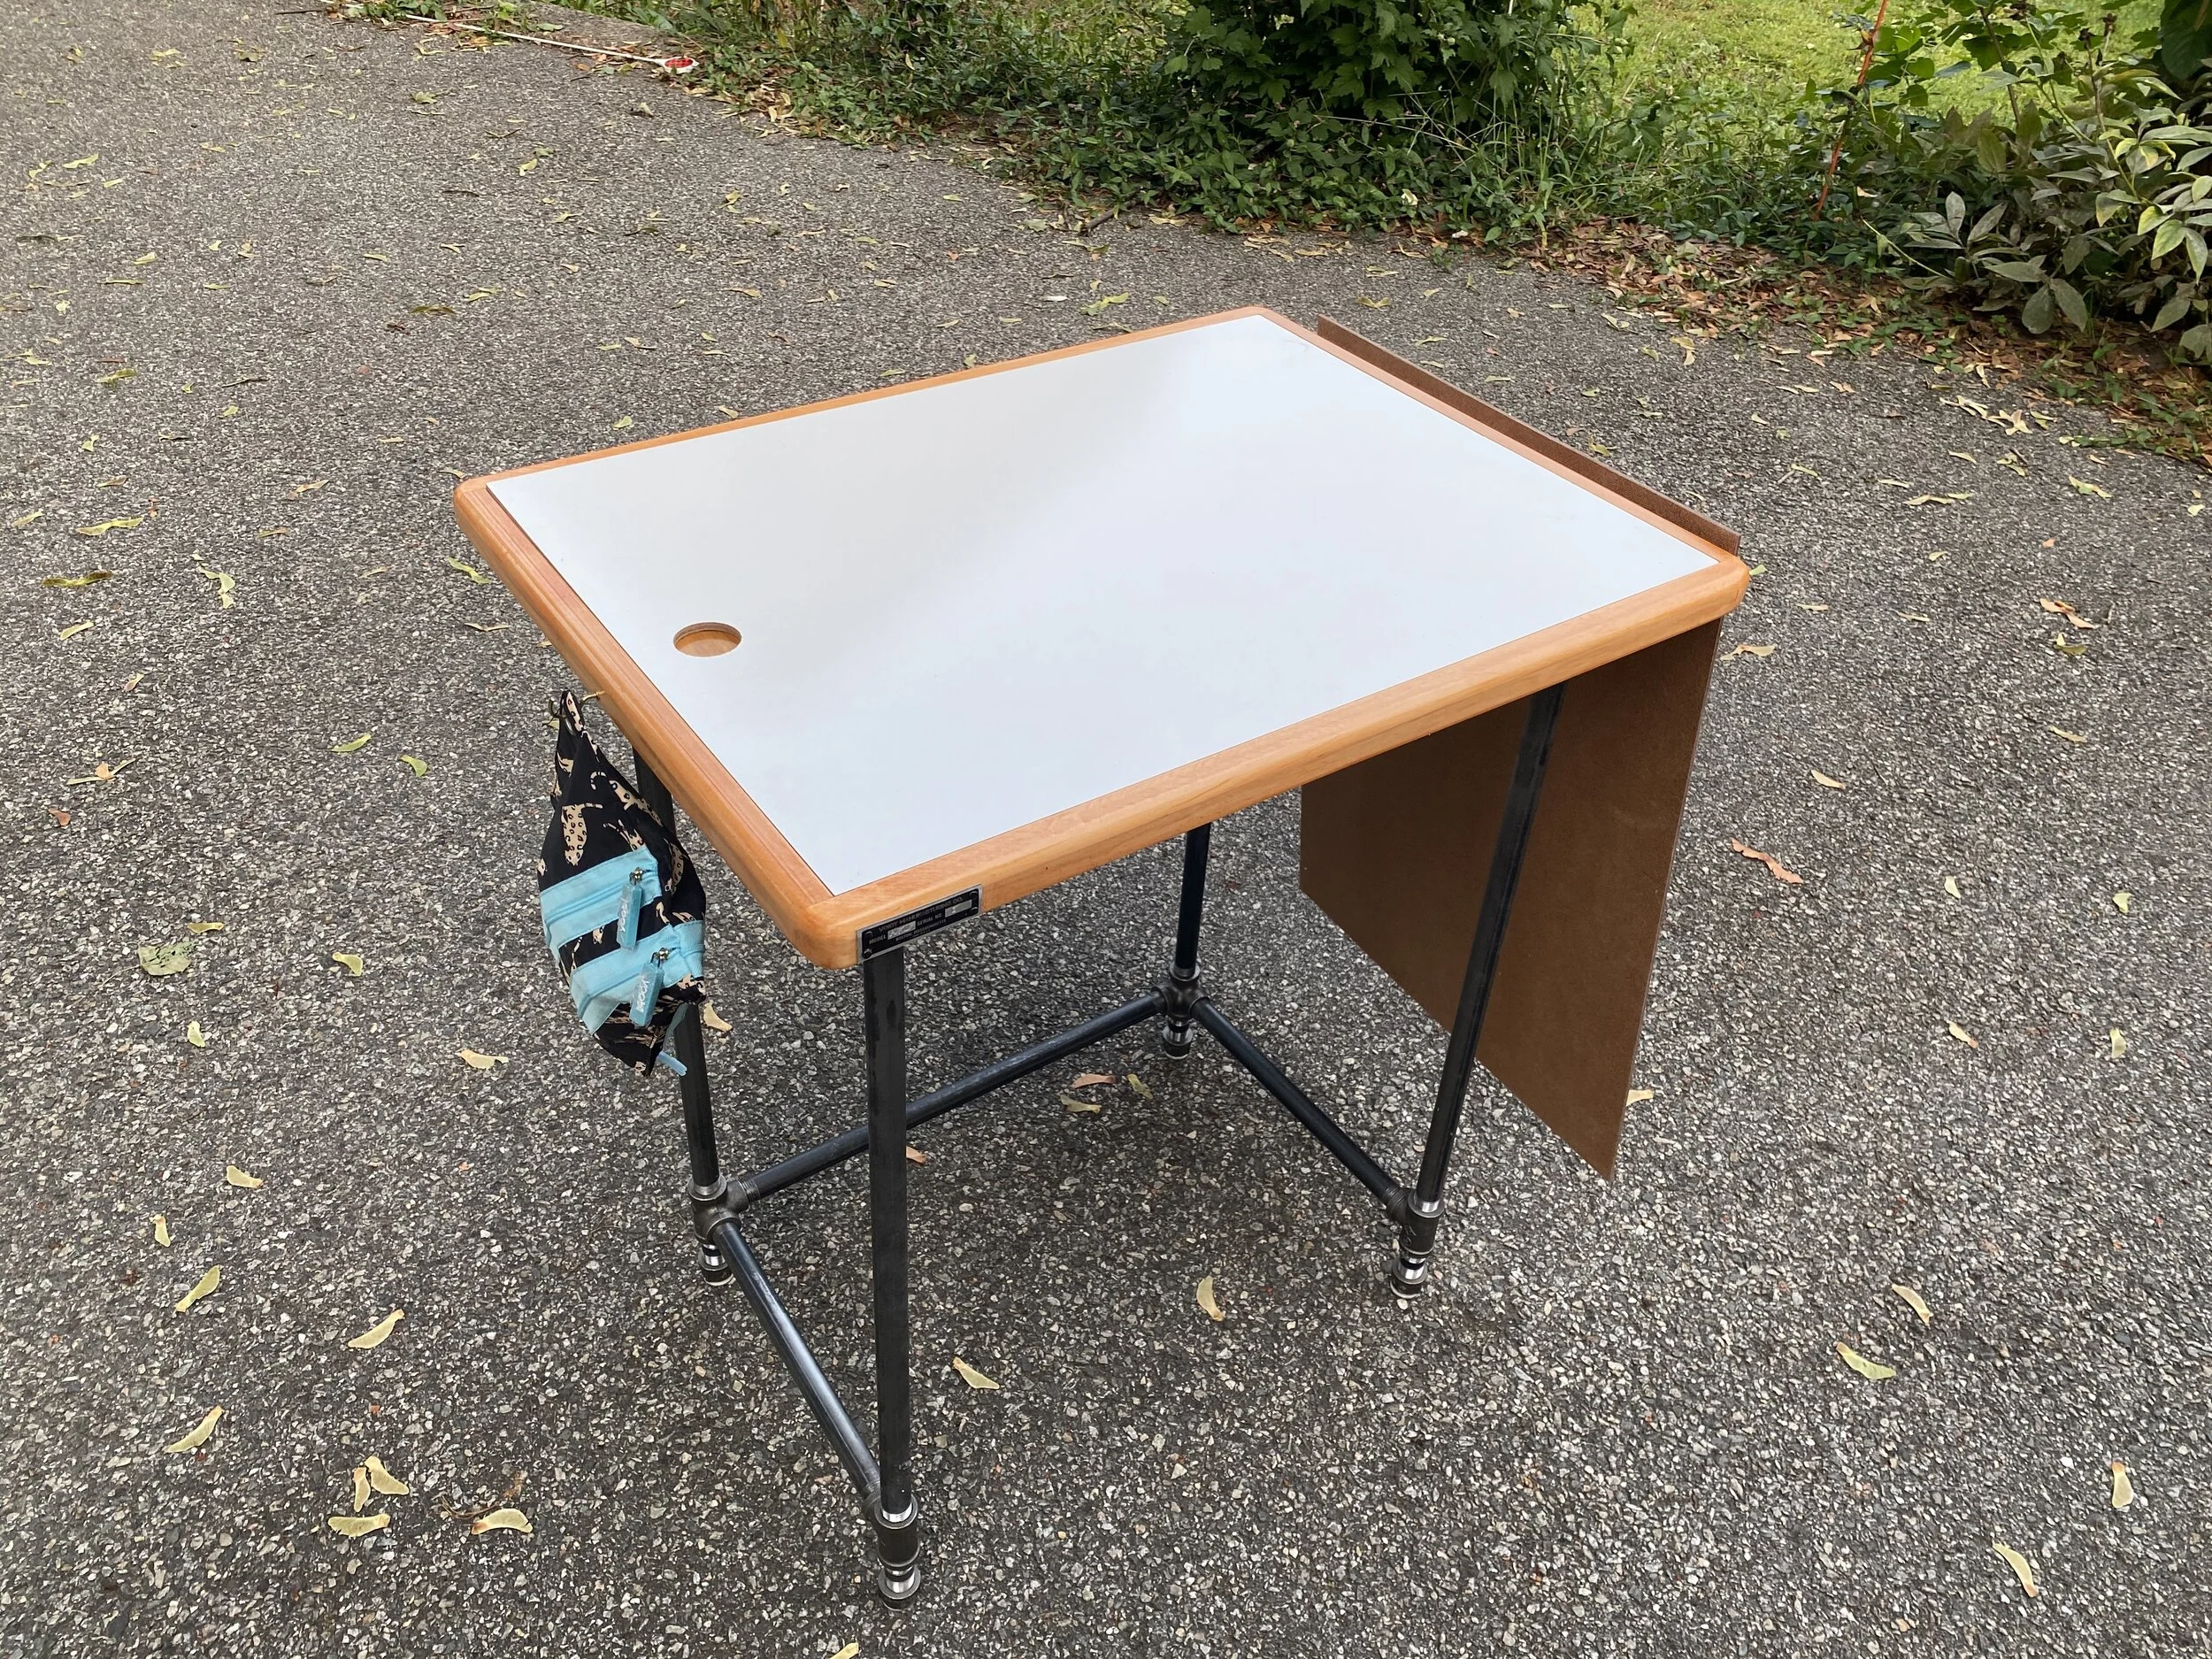
When it was clear in August that we’d need a workspace for Otto, I figured I’d make him a desk that I could later repurpose into a coffee table by swapping out the iron pipes with shorter ones. Our friend also wanted one for her daughter, albeit with slightly less square footage. The smaller desk takes one of two inserts on the top: a reversible whiteboard/blackboard, or a clipboard material for just writing on. Home Depot sells all lengths of 1/2” iron pipe, as well as “project fittings”. Since this is nominally gas line pipe, there are some connections (specifically the corners at the bottom back of the desk) that you shouldn’t actually use for running gas, hence the project fittings. The original plan was to have a riser on the back of the desk with pegboard in it, but once I made the top, I really didn’t want to drill into it.


Here’s the fittings for the first desk (there’s 2 extra flanges for the risers that never got built), and I assembled the frame in probably 5 minutes flat. One thing about this pipe is that it’s got a bunch of industrial stickers and schmoo all over it, and I should have cleaned it before I build the desk instead of at the end, when it was a real pain and I spent way too much time with a utility knife and goo gone cleaning it up.


The top of the big desk is a mix of mahogany, cherry, and maple glued together, and then glued down to plywood. I really needed some deep clamps to get the wood to line up, this top was wildly not flat at glue time. Also, this will at some point result in some unpleasant expansion, since I later put an edge around it, but ~6 months in it’s still looking ok. I had to cut the ends of the boards flush with the plywood with a circular saw, as the desk is too wide for the table saw.


Getting the top of this desk flat was a real pain, I used an electric hand planer and a belt sander to get it good enough. I didn’t have a real planer at the time, nor deep clamps, so the boards weren’t super even thickness (or flat) to begin with, so the flat top is hiding a bunch of weirdness on the underside of the hardwood. The maple edge is mitered and fits nice, and covers up the horrorshow that is the ends of the desk (where there are notable gaps between some of the boards and the plywood).


Meanwhile, the smaller desk was just plywood with maple glued to it. I didn’t miter this one because I didn’t. Here’s a closeup of the miter on the big desk. Pretty tight if I do say so myself!


Screw the tops onto the base, sand and finish, and we’re good to go! The smaller desk was finished with a polyurethane with stain in it to give it some warmer color, and the big desk was just straight poly. I think I did about 4 coats on each.


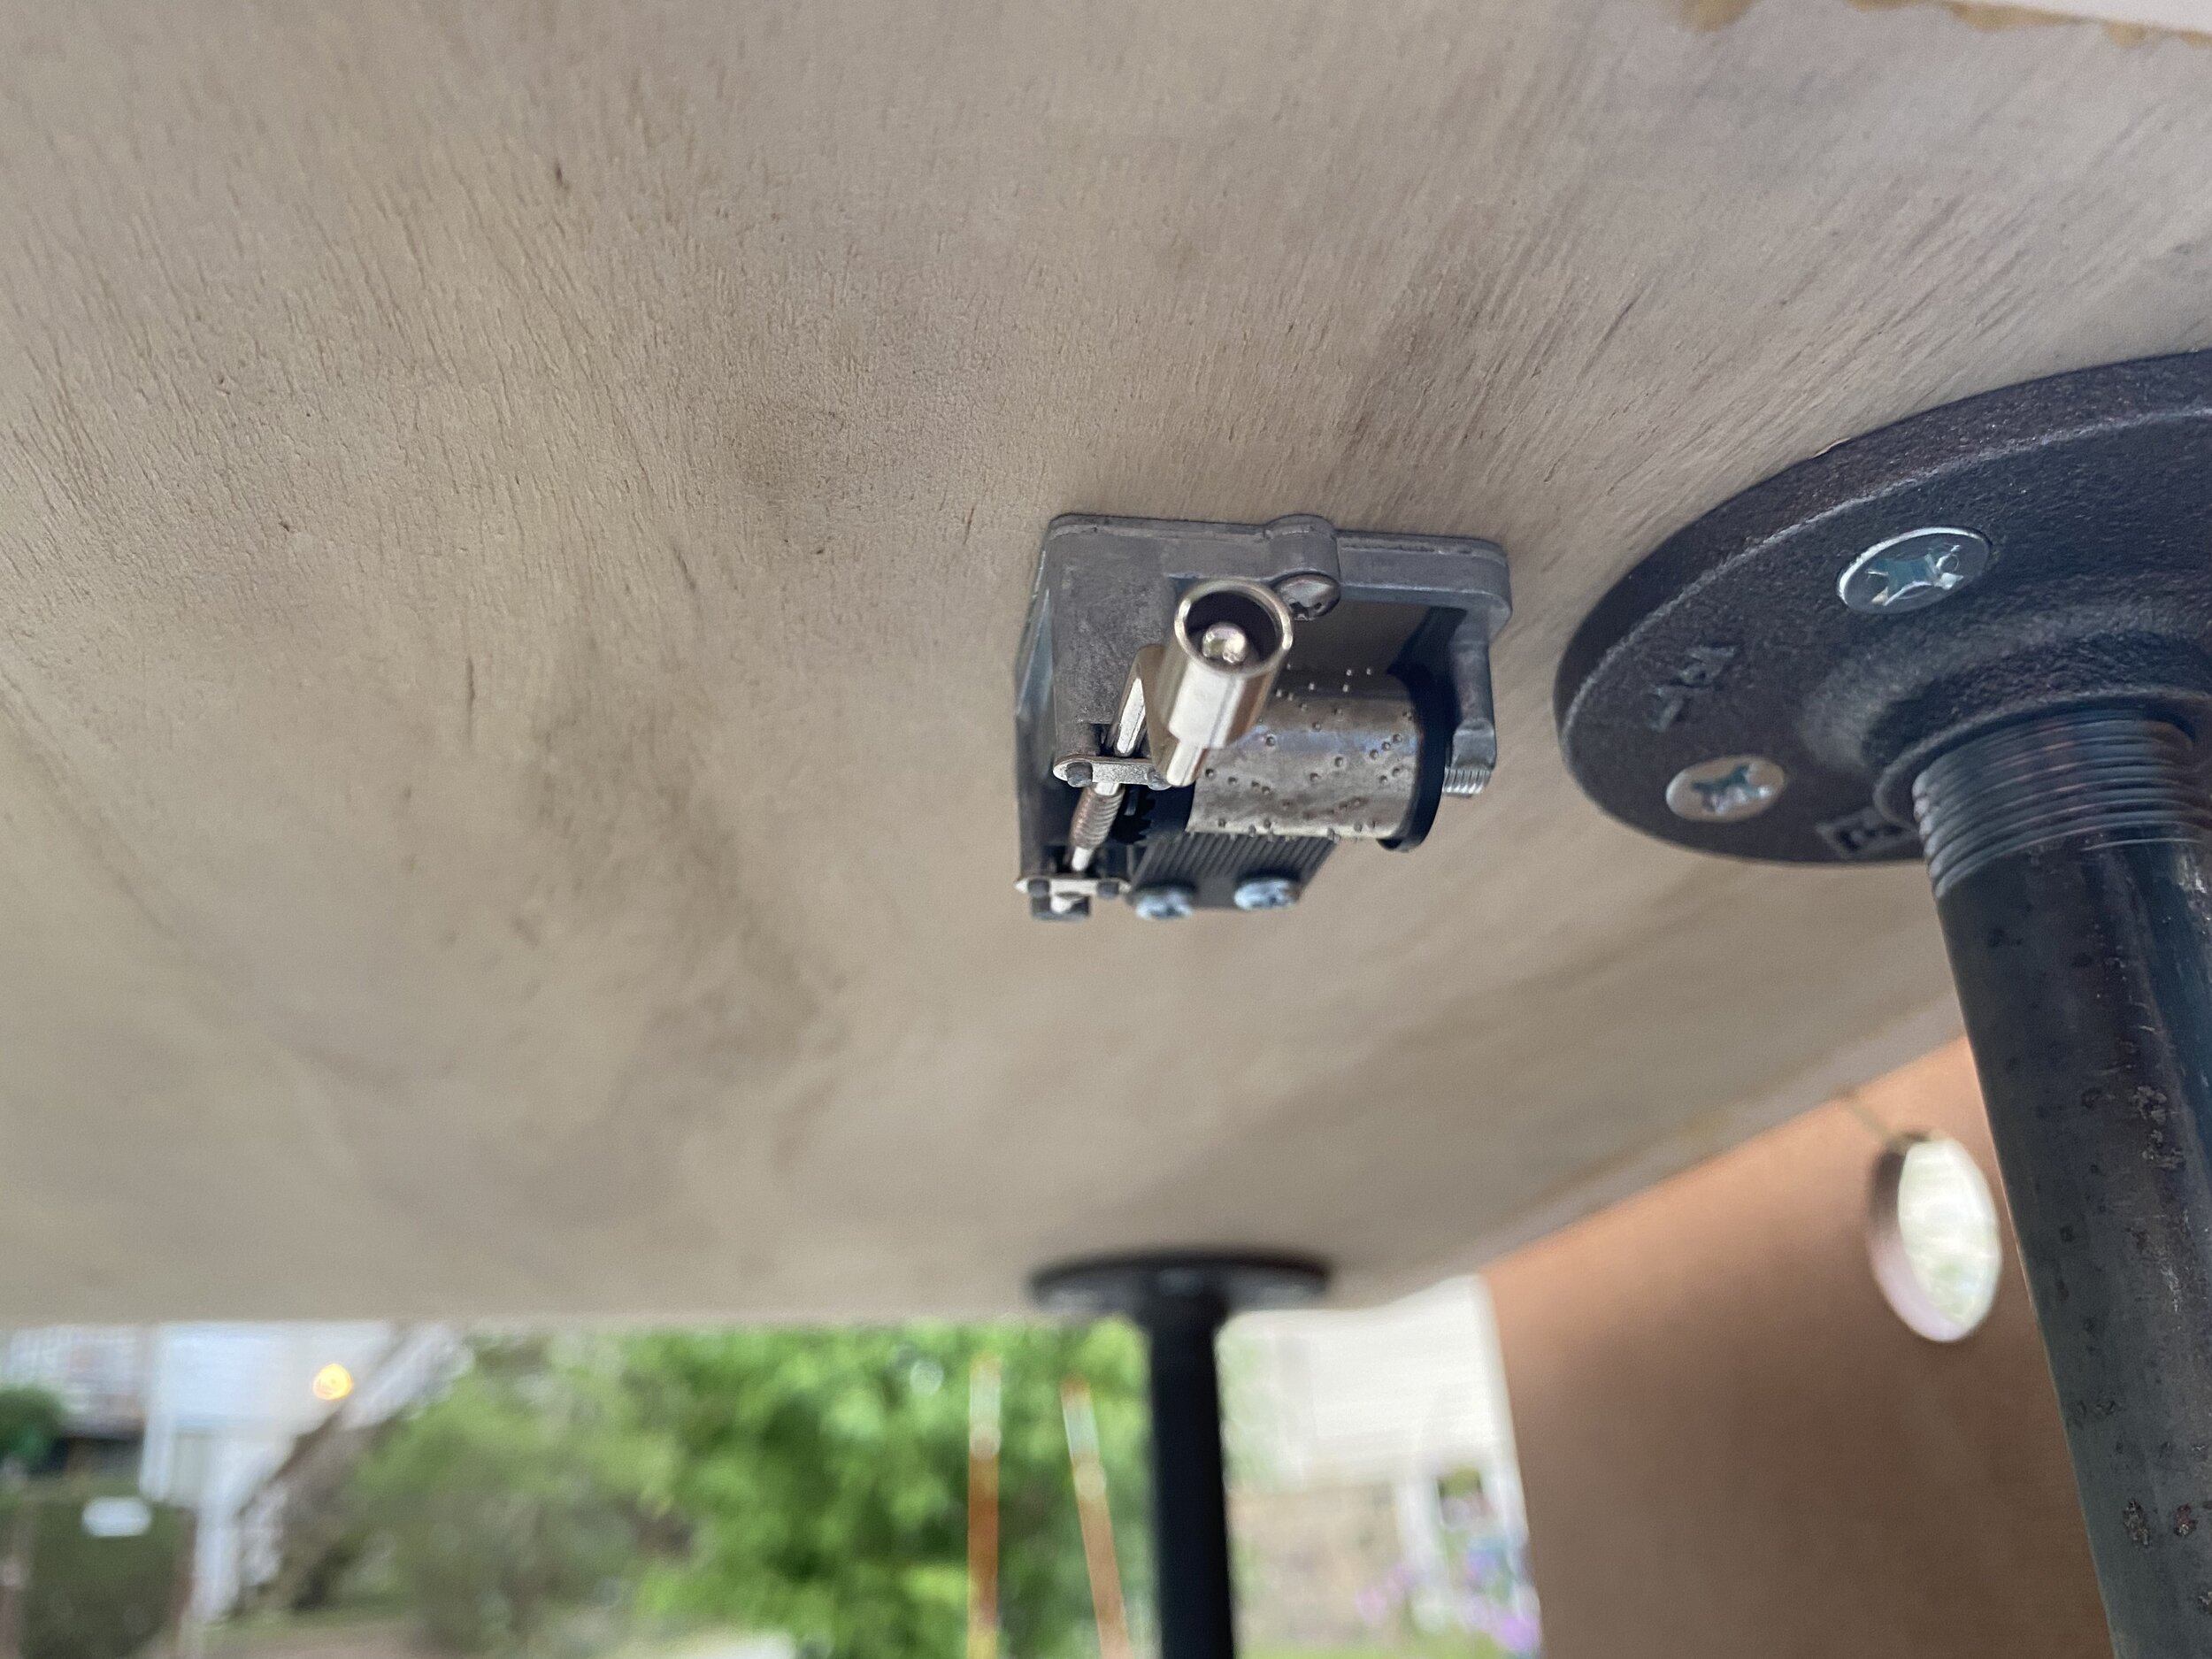


A few glamour shots and some secret hardware added: a music box on the underside that plays “La Vie En Rose”. Hoping this really can become a coffee table by next fall!